Overview
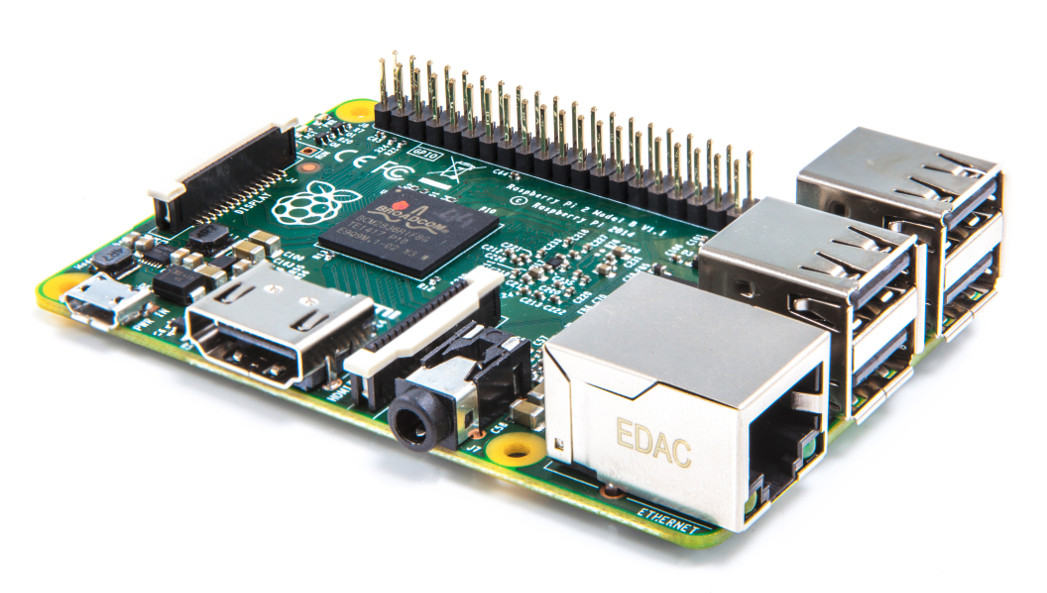
A Raspberry Pi is an $35 dollar computer that is the size of a credit card. It can be utilized in everything from DIY home projects to missle guidence systems.
This tutorial will demonstrate the process of installing an operating system on the device. Although it is aimed at beginners, we will be using the command line. Don’t worry though, the goal is to ease newbies into command line, as you are sure to come across it again and again in future raspberry pi endeavers.
Items Needed
For this tutorial you will need the following items…
- Computer with OSX (Unix) or Linux installed
- Raspberry Pi
- MicroSD card (4gb minimum)
- SD adapter (comes with the microSD card)
- SD card reader (internal or external)
Step 1. Choose an operating system
Although there are many different raspberry pi operating systems (aka distributions) that range in functionality, the installation process of these operating systems are for the most part, all the same.
For this tutorial we will be installing the RetroPi OS, which turns the Pi into a emulation station for gaming.
Step 2. Download and Extract the operating system
From your OSX or Linux computer, download and extract the .img file of the operating system you will be installing.
Step 3. Find the pathname of the extracted Image file.
Everything on a computer is a file. And all of these files have pathnames. One way to discover the pathname is as follows..
Right click on the extracted Image (.img) file from STEP 2 and select “Get Info” (OSX) or “Properties” (Linux). Within the window that pops up, under “Where:” for OSX you will see a pathname that looks similar to this
/Users/chris/Downloads/the_file_name.imgFor Linux users, under “Location:” you will see a pathname that looks similar to this
/home/chris/Downloads/the_file_name.imgWe will need this pathname later in the tutorial, so copy it down.
Step 4. Connect the microSD card to your computer
Insert the microSD card into the SD adapter. Plug the SD adapter card into the SD card reader. If the card reader is external, you may now plug the card reader into the computer.
Step 5. Find the SD card partition pathname
Now we must find the pathname of the SD card partition (aka region). So how would go about repeating process in Step 3 and right clicking the SD card reader file?
Well we could try sifting through system folders with the mouse to find the correct file, but that would take too long. The computer can just tell us the pathname if we ask it.
This is where the command line comes in. Now don’t be scared. Although the command line can be intimidating, it is fairly easy to use.
We can use the command line to tell the computer to do things. In this case, will will be entering a command that tells the computer to display information for us.
Open the Terminal application on your computer. Here is the command we are going to type into the terminal (aka command line)
sudo fdisk -lLets break down this command.
“sudo” stands for superuser, and it gives us “superuser” privileges in order to have access to the “fdisk” command.
“fdisk” stands for “fixed disks”.
The “-l” at the end of the command stands for “List”, and is a “fdisk” option flag.
If you want a closer look at the capabilities of the commands, you can type “man” (manual) + the command. For instance
man sudoman fdiskAlright so now that you know what the command is doing, type out the full command and press enter.
Because we used “sudo” (superuser) in this command, it will ask for a password. Type your username’s password and press enter. (The traditional dots or ‘*’ asterisk that appear when you type your password will not do so in the command line. This is normal.)
You should now see a list of columns. Look for the column with the header labeled “Size” and look the corresponding amount that your SD card has available on it. The size will usually be a couple hundred megabytes less then the full capacity of the card. So for instance I am formatting a 8gb SD card and it shows up in the size column as 7.2gb. The column with the header labled “Device” is the pathname of the card partition.
If the card reader is external the pathname should look similar to
/dev/sdc1/dev/mmcblk0p1This is the file pathname for the partition on the SD card. Copy down this path name which will be used in the following step.
Step 6. Unmount the SD card
Before we can format the card in the next step, we must unmount it. This is accomplished by entering another command in the (not so scary) command line.
sudo umount the_pathname_from_step5sudo umount /dev/mmcblk0p1Step 7. Format the SD card
In order to format the SD card, we will need the pathname of the SD card reader. Fortunetly, this is as easy as modifying the pathname used in the last step. For external card readers remove the last character from the pathname.
/dev/sdc1/dev/sdc/dev/mmcblk0p1/dev/mmcblk0Now that we have the pathname of the SD card reader, it is time to format the card. The command is
sudo fdisk the_pathnamesudo fdisk /dev/mmcblk0Once you enter the command it may ask for your password again (because we are using “sudo”).
You should now see a menu for “fdisk” within the command line. Now you can enter menu commands. As you can see, if we type and enter ‘m’, we will be shown the help menu. This displays all of the available commands we can enter within the “fdisk” menu. We first are going to delete any existing partitions on the SD card. We do this by entering the simple command
dSCREEN HERE
It tells me there are 2 partitions on the card and the default partition is 2. It wants me to tell it which one to delete by entering either “1”, “2”, or nothing at all (since the default is 2). I will enter 2, although I could just press enter and I should see the same screen as below.
SCREEN
In order to delete the last partition enter the command
dPartition 1 has been deletedWe will now add a new partition to the SD card.
This is accomplished by entering the command
nPartition type
p primary (0 primary, 0 extended, 4 free)
e extended (container for logical partitions)pPartition number (1-4, default 1):1First sector (2048-15130623, default 2048):Last sector, +sectors or +size{K,M,G,T,P} (2048-15130623, default 15130623):We will be presented with following prompt
Created a new partition 1 of type 'Linux' and of size 7.2 GiB.Beautiful! Except we want the partition type to be “FAT32” not “Linux”. We can do this by entering the command
tWe will be presented with following prompt
Selected partition 1
Partition type (type L to list all types):LType the code that was beside “W95 FAT32” and press enter. In my case
bpNow we must write all of our changed to the card in order to finalize the formatted partition. Enter the command
wThe partition table has been altered.
Calling ioctl() to re-read partition table.
Syncing disks.sudo mkfs.vfat partition_pathname_from_step5sudo mkfs.vfat /dev/mmcblk0p1Step 8. Install the .img file onto the SD card
Now for the last and final step of the tutorial. To install the the operating system onto the SD card we will need the pathname of the Image (.img) file from step 3, and the pathname from the card reader (the modified partition pathname) from the beginning of step 7.
The command will be
sudo dd bs=1M if=image_pathname of=card_reader_device_pathnameNote, if you are on a OSX(Unix) computer, the above “M” command will need to be lowercase “m” instead.
This is the command I entered
sudo dd bs=1M if=home/chris/Downloads/retro_pi.img of=/dev/mmcblk0Once you have entered the correct command, the installation will begin. This take a while and you will just see a blinking cursor. As long as it’s blinking that means it is writing the Image (.img) file to the SD card. On my machine it was almost 5 minutes per gigabyte. So just hang in there!!
Conclusion
Once the installation is complete, you can eject the SD card from your computer and insert the microSD card into your Raspberry Pi. And if everything goes well, you should witness your Pi boot up with installed operating system. Congradulations! You just installed a operating system using only the command line, that wasn’t so hard was it?
If you have any questions, issues, or advice, please send me an email and I will be more then happy to respond.